You Only Need HTML! Build a Blog Site with Astro!
You Only Need HTML! Build a Blog Site with Astro!

Sometimes you just feel like building a blog site.
For sites of a certain size, you don’t need to go as far as using WordPress — nowadays you can quickly create a site you like. In this article, we’ll use the trendy framework Astro to build a blog website in about an hour.
What is Astro?
Astro is a framework for building fast websites primarily aimed at content delivery (blogs, articles, etc.). It’s well suited for sites where users mainly read content.
It also adopts the concept of Islands, letting you load JavaScript only for parts of the site so you can have interactive elements (like a button that does something when clicked) without loading JS everywhere. Skipping the details, the point is that Astro makes it easy to build sites while remaining highly extensible, making it ideal for beginners.
What’s a framework?!
When you hear “framework” you might wonder what it means. Simply put, it’s like a bundled app development kit full of useful features. Using it lets you skip a lot of setup work and get started quickly.
Preparing to build the website
Let’s start building the site right away. First, prepare what you need. Don’t worry — it will be quick.
What you’ll need
If you have a PC or Mac, you’re good to go. If not, you can use online dev tools like StackBlitz, but this guide covers local development on your computer.
Installing Node.js
First, install Node.js. This is the runtime environment (the foundation that runs apps), and Astro runs on it. Newer versions will work, so click the download button on the site and install it following the instructions.
Installing VS Code
You might be able to write HTML in Notepad, but there’s a much nicer tool. Using VS Code gives you syntax highlighting and other features that make development easier. VS Code also supports extensions, and there’s an official Astro extension you should install.
Install it from the link below and follow the setup instructions. For language settings and other preferences, consult other guides if needed (it’s a bit of a pain…).
After installing, open the app and install extensions.
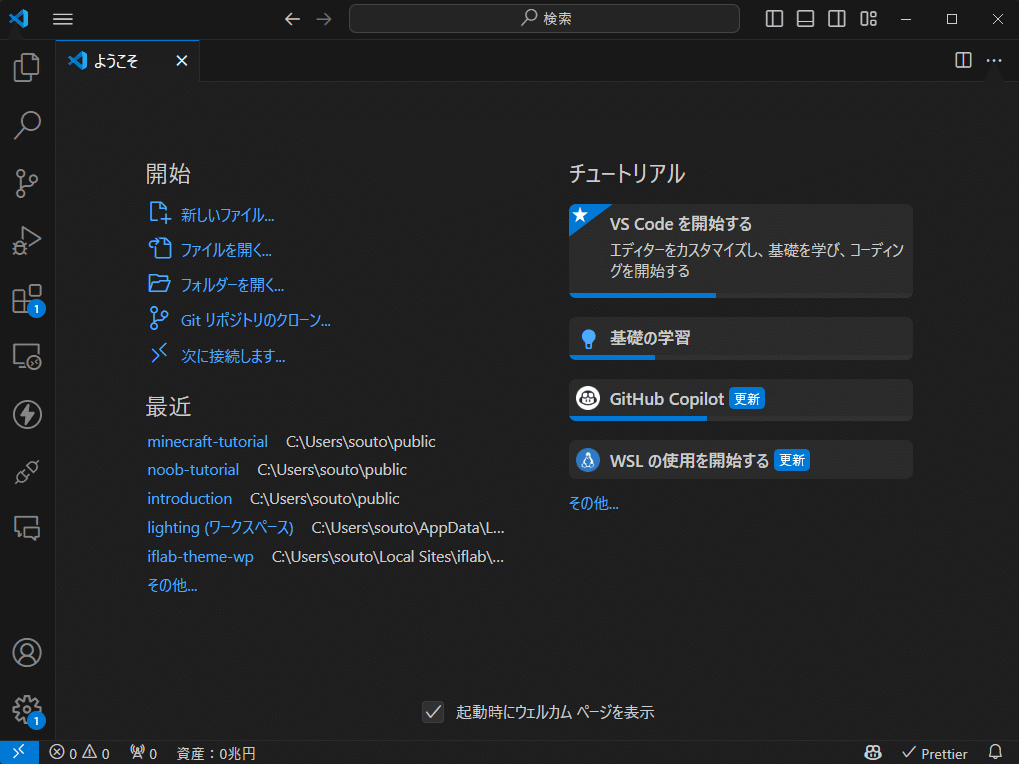
This is the screen you’ll see when you launch it.
Click the Extensions button in the left sidebar, then type “Astro” in the search box in the opened tab.

Select the extension
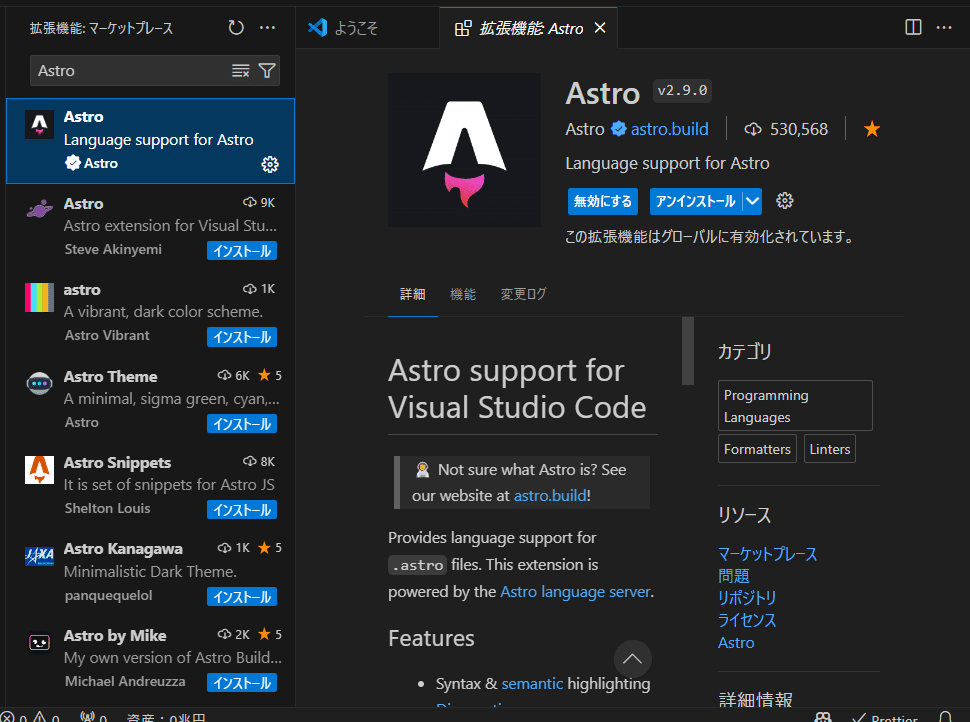
Click Install!
Once it’s installed, VS Code is ready.
Preparing GitHub
You can perform this step after finishing the site, but we’ll cover it now.
We’ll use GitHub to store and publish the site’s files. GitHub lets you save and share code, and using it makes version control and deployment easy. Create an account there (I’ll skip the detailed steps — it’s a hassle).

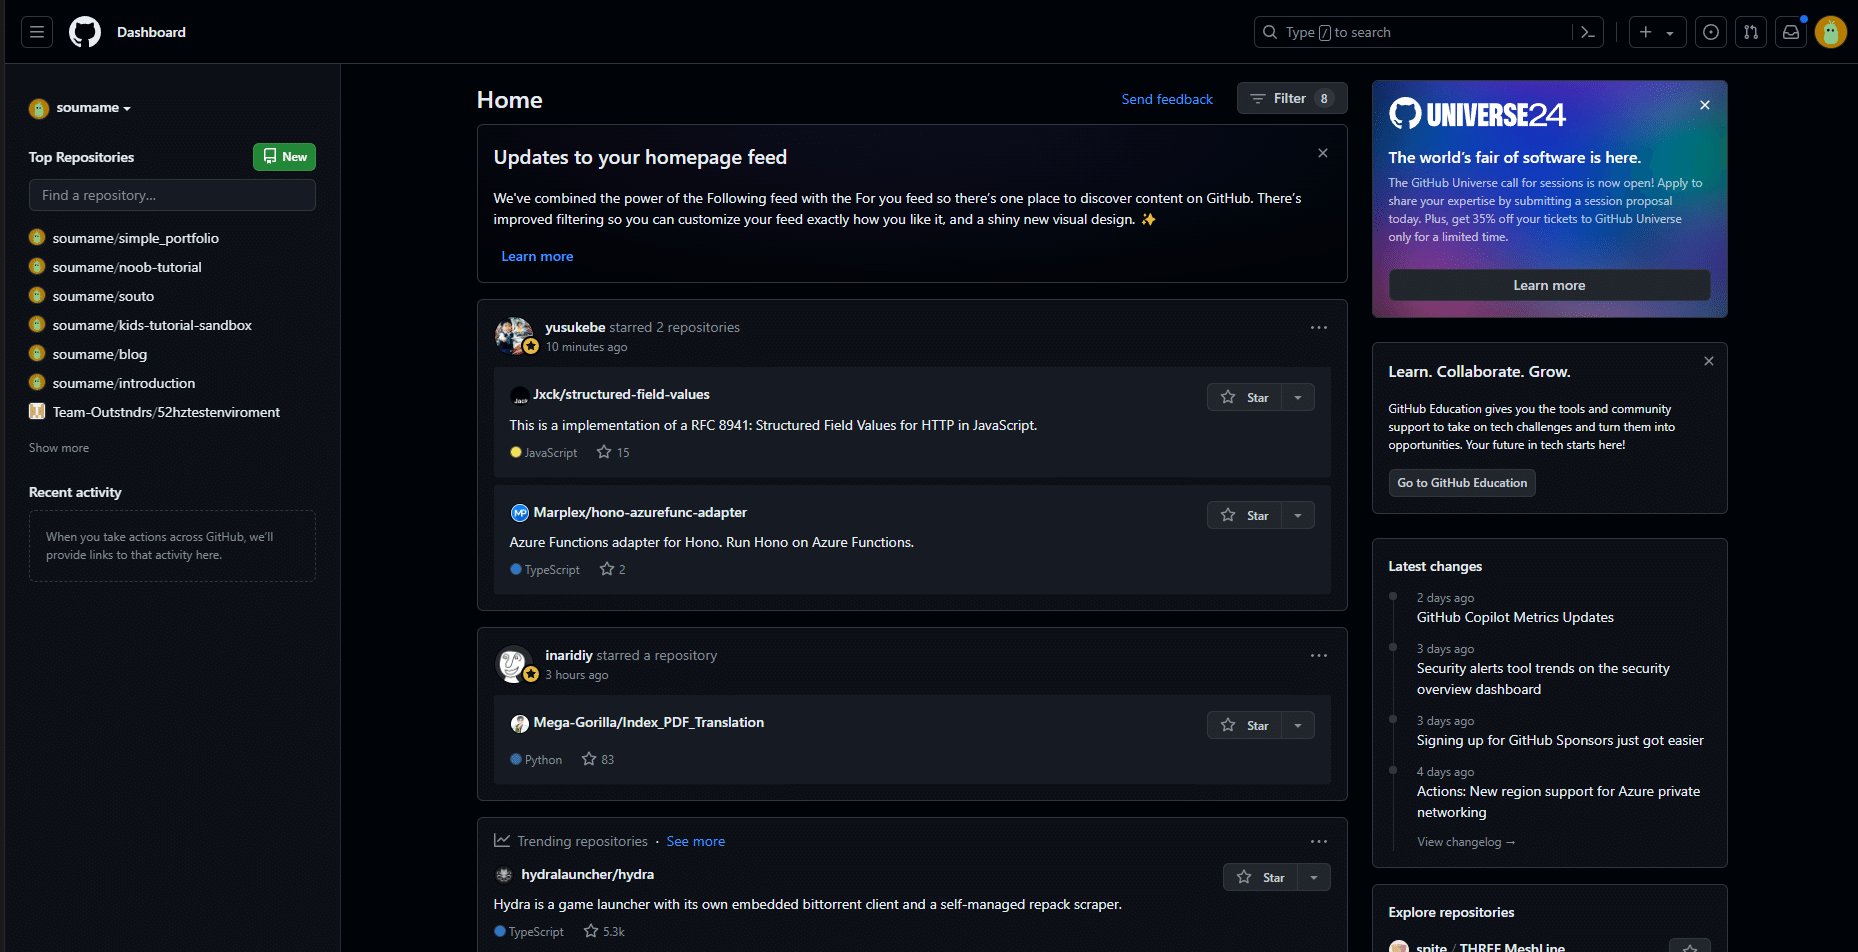
After signing up or logging in to GitHub, you’ll see a screen like this.
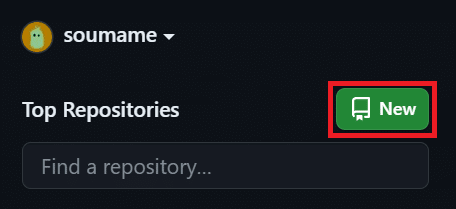
Click the green “New” button on the left to create a new repository. Think of this as a storage space for your project.
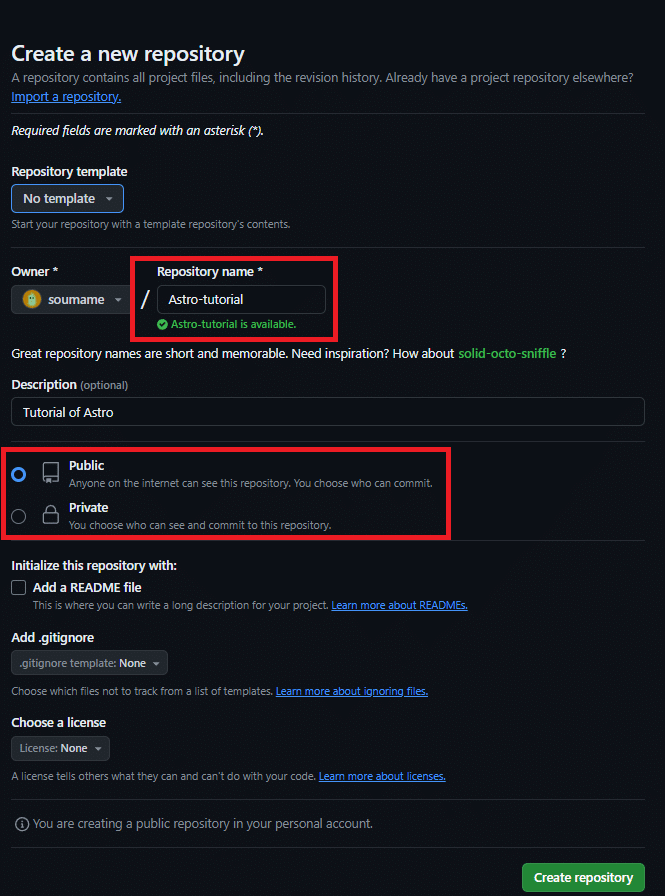
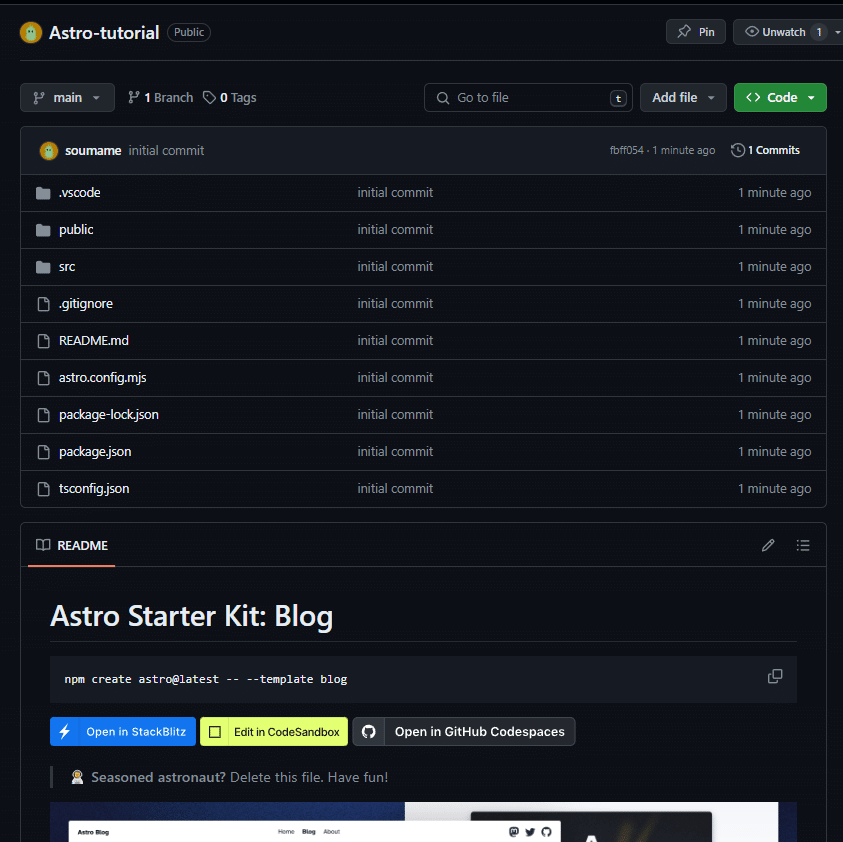
The creation screen looks like this. In the red box you choose the repository name and whether it’s public or private. If public, everything you push will be visible — be careful. This doesn’t directly affect the website’s publishing settings. You can also set a description, initialize a README, choose a license, etc. When ready, click “Create repository” at the bottom.
You should then see this screen. You’re all set.
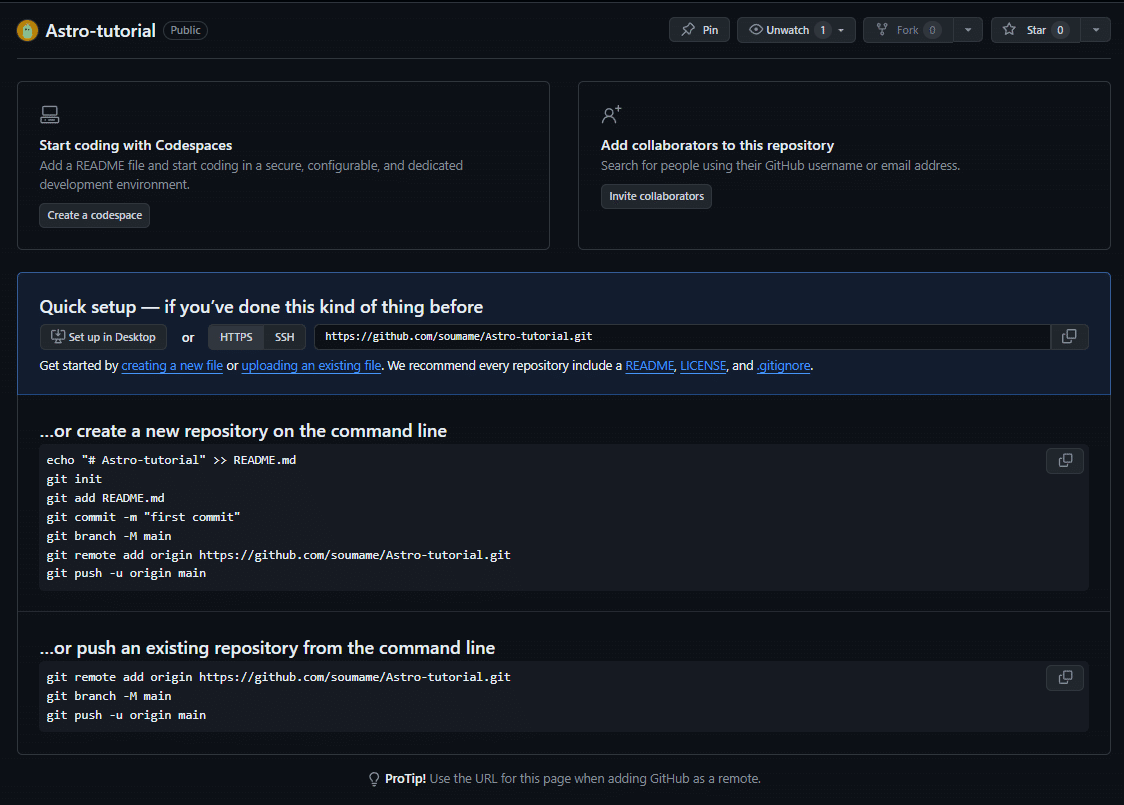
Repository creation complete!
Developing the website locally
Cloning the repository
Now let’s clone the repository you created. Copy the link shown on the repository page and paste it into VS Code’s “Clone Git Repository”. (If you’re logged in to GitHub in VS Code, you can clone directly from there.)

Copy the link shown around the middle of the page…
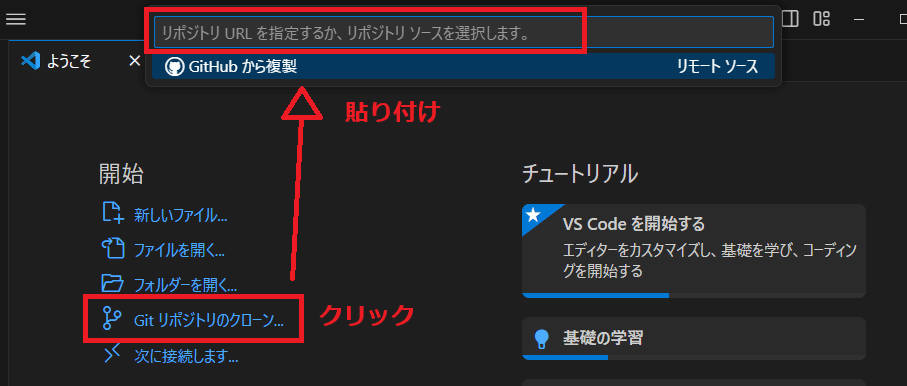
A text box will appear at the top — paste it there.
Choose a folder on your machine to clone into. I recommend creating a “GitHub” folder and saving it there.
Installing Astro
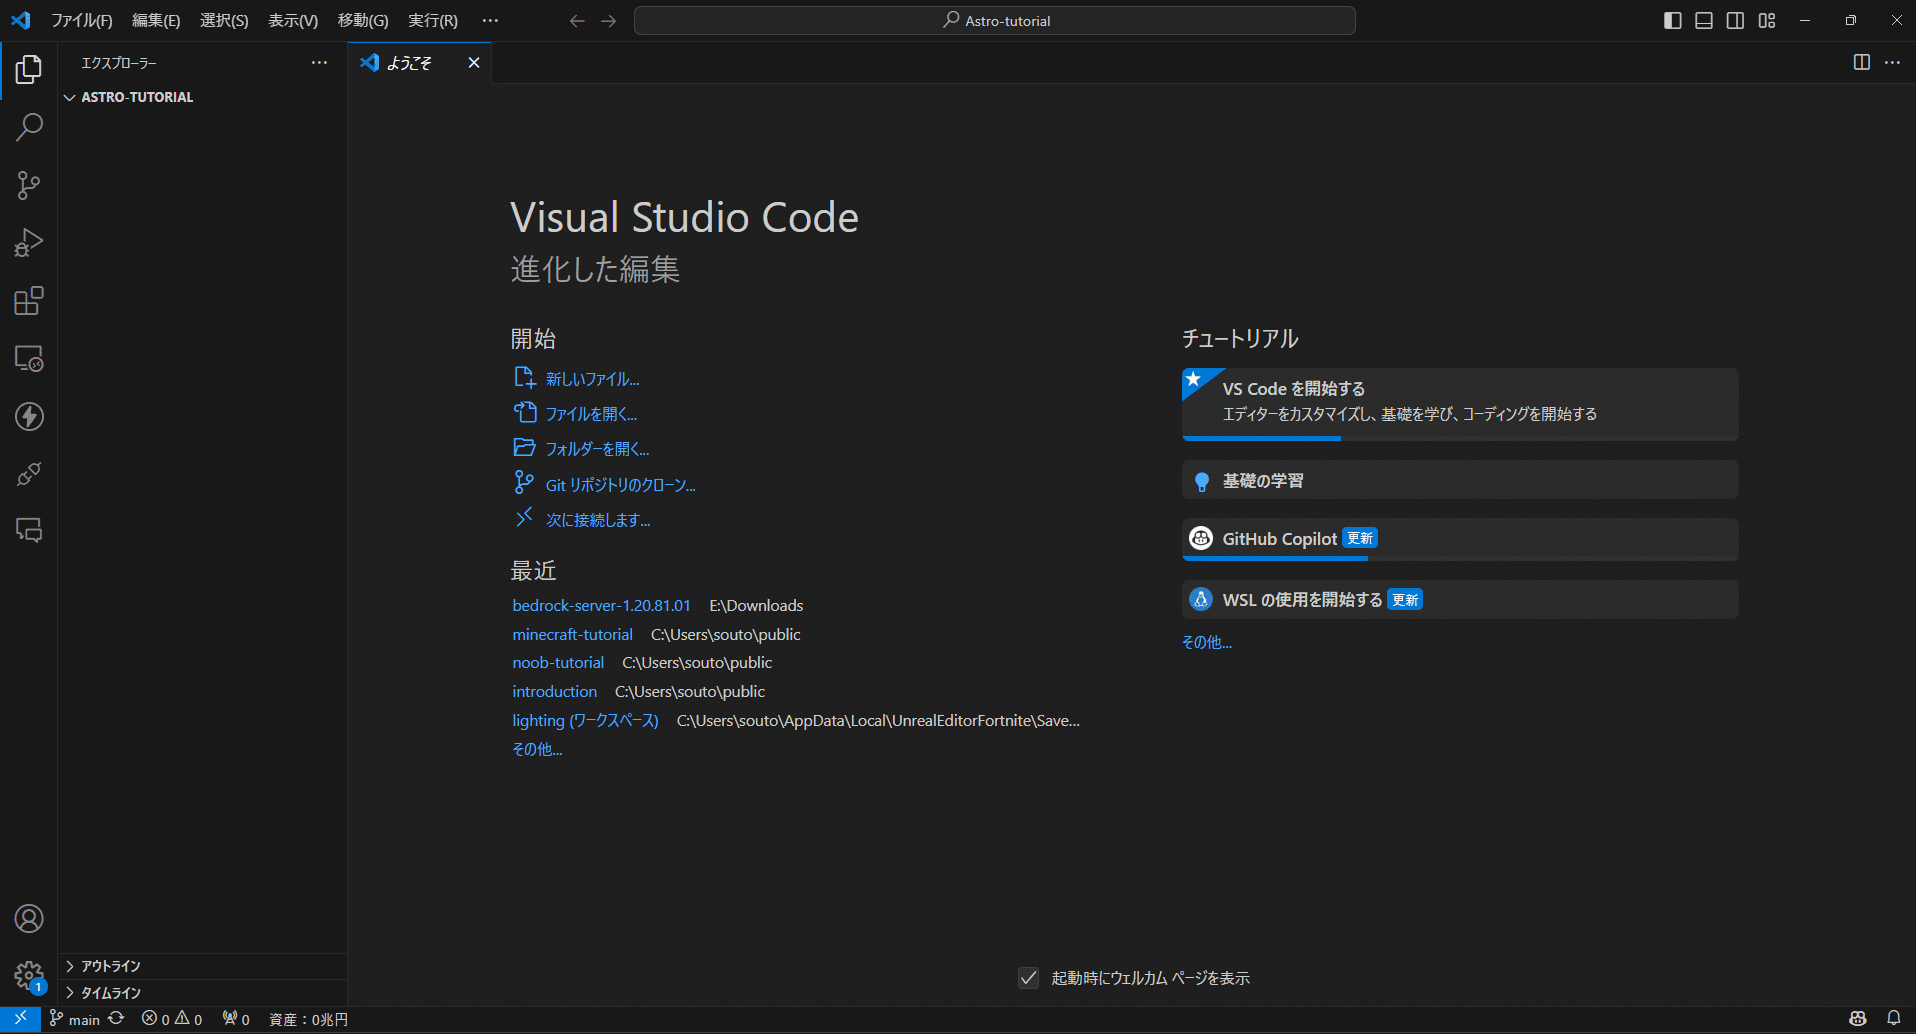
After cloning, you should see a screen like this in VS Code. This will be your main development view.
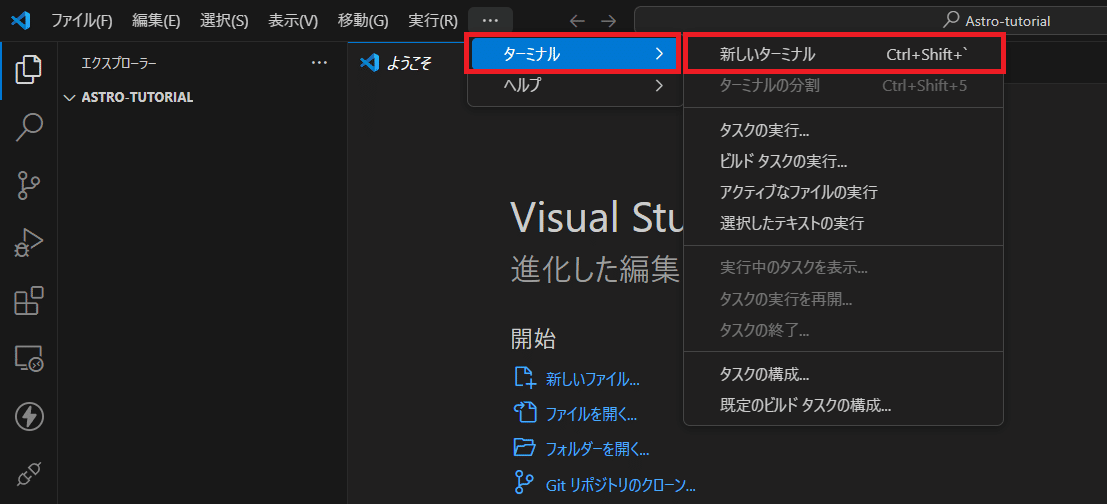
Open a terminal (“Terminal” → “New Terminal” from the menu). On macOS the menu is in the menu bar.
Check your current directory in the terminal. In my case it looked like this, so I installed in the current folder. If it’s different, use cd to change directories.
フォルダ一覧 ls フォルダにに移動する cd フォルダ名 一つ上の階層に移動する cd .. インストールする位置を決める。 C:\Users\souto\public\Astro-tutorial>When the location is set, type npm create astro@latest ./ and press Enter. This installs the latest Astro into ./ (the current folder).
npmコマンドを使用して今いるフォルダ内にインストールする npm create astro@latest ./ 今いるフォルダ内に新しいフォルダを作成し、そこにインストールする npm create astro@latest [フォルダ名]If all goes well you’ll see a series of prompts. Use the arrow keys to navigate. Since we’re making a blog, move down and select “use blog template.”
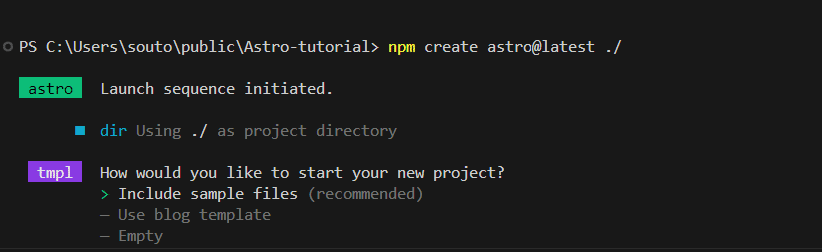
After that, you can just press Enter for the remaining prompts.
tmpl How would you like to start your new project? Use blog template ts Do you plan to write TypeScript? Yes use How strict should TypeScript be? Strict deps Install dependencies? Yes しばらくするとインストールが完了する next Liftoff confirmed. Explore your project! Run npm run dev to start the dev server. CTRL+C to stop. Add frameworks like react or tailwind using astro add. Stuck? Join us at https://astro.build/cat npm run devでサーバーを起動すると...? astro v4.8.2 ready in 243 ms ┃ Local http://localhost:4321/ ┃ Network use --host to expose 22:50:46 watching for file changes...Once installation finishes, start the Astro dev server by running npm run dev in the console. Then open the displayed URL in your browser.
Done! That was easy.
How Astro works
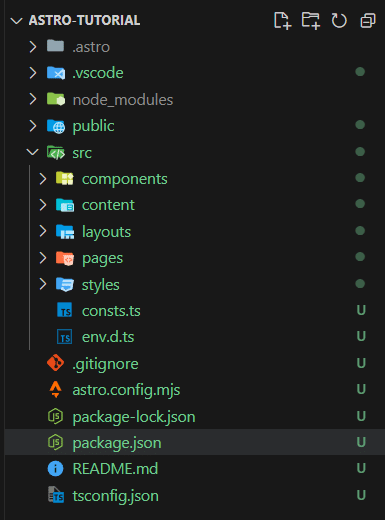
You might be surprised by the many files generated, but in practice you’ll mainly work in the public and src directories.
Astro itself isn’t the website — it generates HTML files based on .astro files. The content in src is converted to HTML at build time unless you change rendering settings.
In other words, if you write code to fetch a list of blog posts, that data is fetched at build time and converted into HTML when you publish the site (a process called building). Astro calls this pre-rendering. This makes pages fast but means you can’t update content in real time — keep that in mind. Astro also offers on-demand rendering, which fetches data on each request, but in this tutorial we’ll use pre-rendering. For a personal blog, that’s usually enough.
The concept of components
Astro uses a component-based approach. Components let you reuse parts (for example, create a “menu bar” component and reuse it across pages). You can nest components too, building a hierarchy of reusable pieces.
Below is an example. If you create a layout file that imports a header and footer and then use that layout in other pages, every page will include the header and footer automatically. You don’t have to write the header/footer on every page — changing the header file updates it across the site.
//レイアウトファイル(Layout.astro) import Header from 'Header.astro'; import Footer from 'Footer.astro'; <html> <head> <Header/> </head> <body> <slot> //スロットを使用して、内容をここに埋め込む <Footer/> </body> </html>//ページのファイル(index.astro) import Layout from 'Layout.astro'; <Layout> ...ページの内容 </Layout>//ブログ一覧 import Layout from 'Layout.astro'; <Layout> ...ブログ一覧 </Layout>The src folder
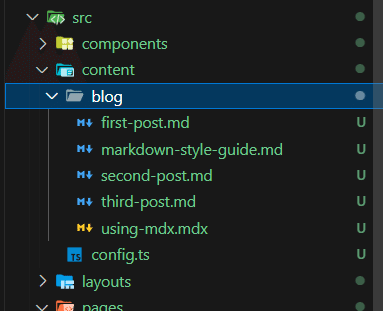
The structure inside src is flexible, but this template provides five directories: components, content, layouts, pages, and styles. Let’s look at each.
This guide explains conventions commonly used in the Astro community, but the only directories reserved by Astro are src/pages/ and src/content/. You are free to rename or reorganize the other directories however works best for you.
/pages (required, reserved) Pages is a directory reserved by Astro. All pages you create for the site must go here.
/content (reserved) This directory is reserved (but not required). Using Astro’s content collections feature, you can store blog posts and other content here. We’ll use this directory to manage blog posts in this project.
/Components Place Astro component files here. These are reusable parts you can import from other .astro files. This directory isn’t required, so you can rename it if you want.
/layouts Use layouts to define templates shared across multiple pages. This is optional as well.
/styles Store CSS and related files here. Optional.
Public folder
Files in the public directory are skipped by Astro’s build processing and are served as-is. Put fonts, site icons, robots.txt (if needed), and other static assets here so they are available when you build the site.
You can also place CSS or JavaScript here and load them directly, but they won’t be optimized by Astro, so the official recommendation is to avoid that when possible.
Let’s tweak it a bit
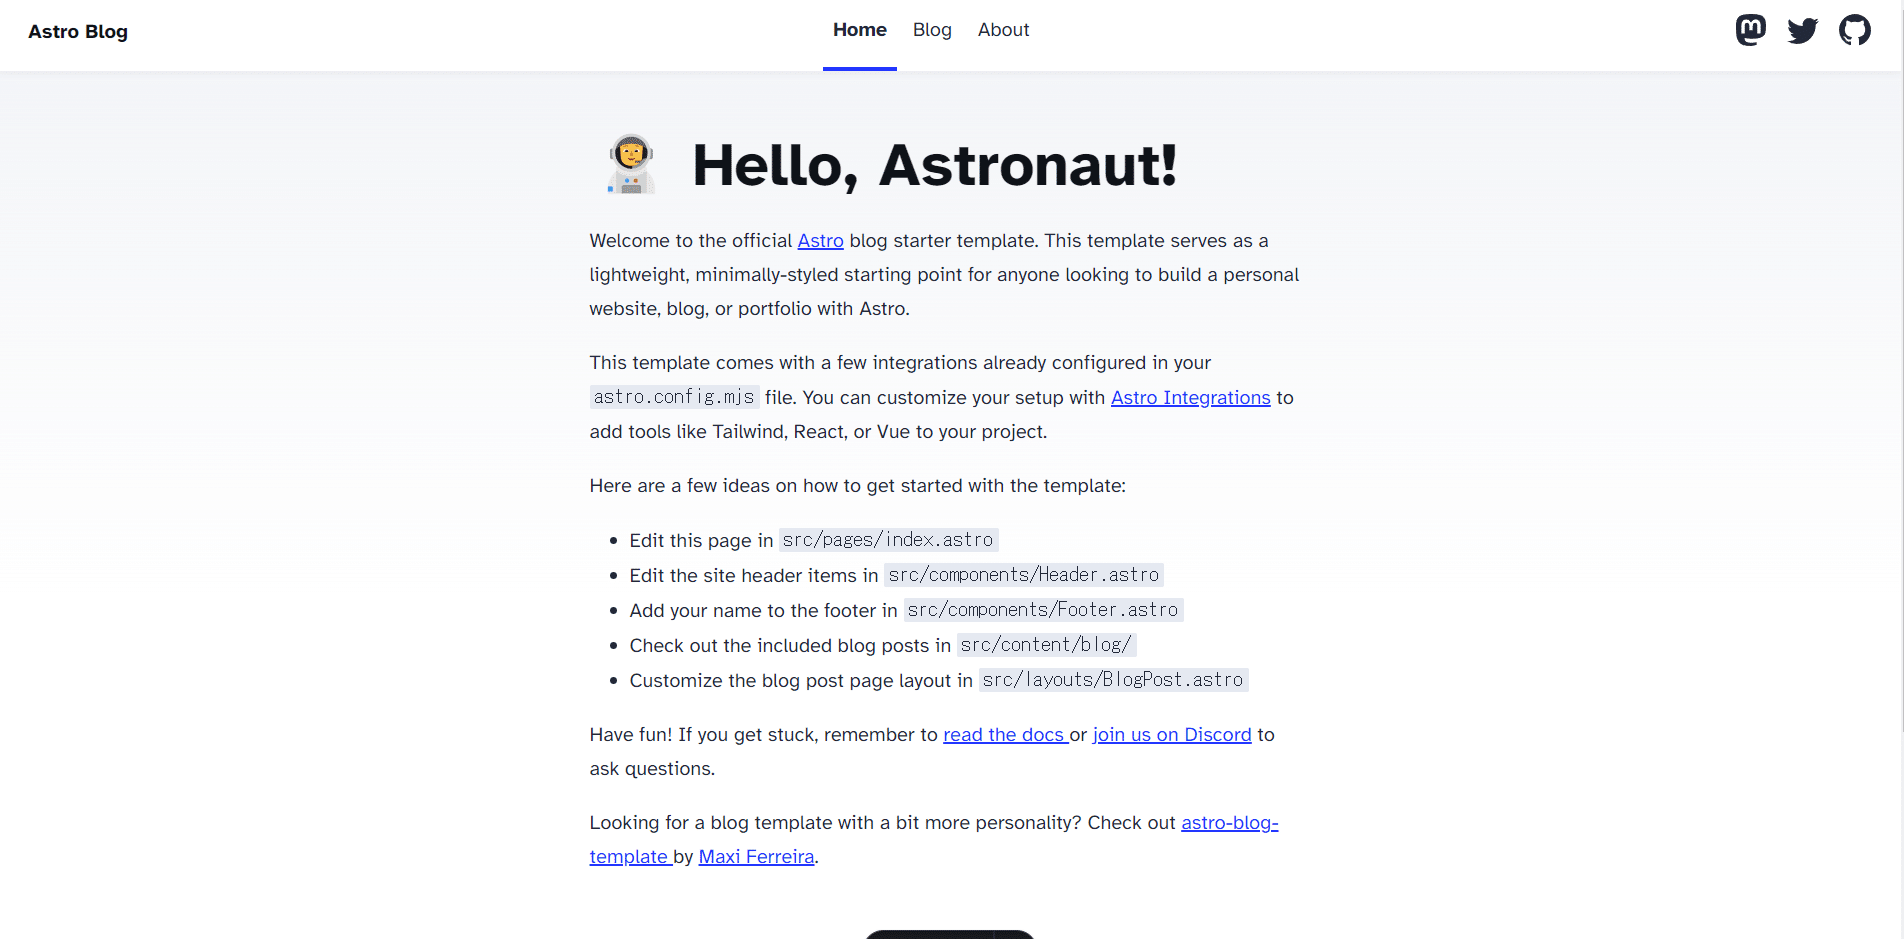
Rewriting everything would be too long, so let’s make a few changes and publish. First, edit the page users first see. Open index.astro in VS Code.
index.astro
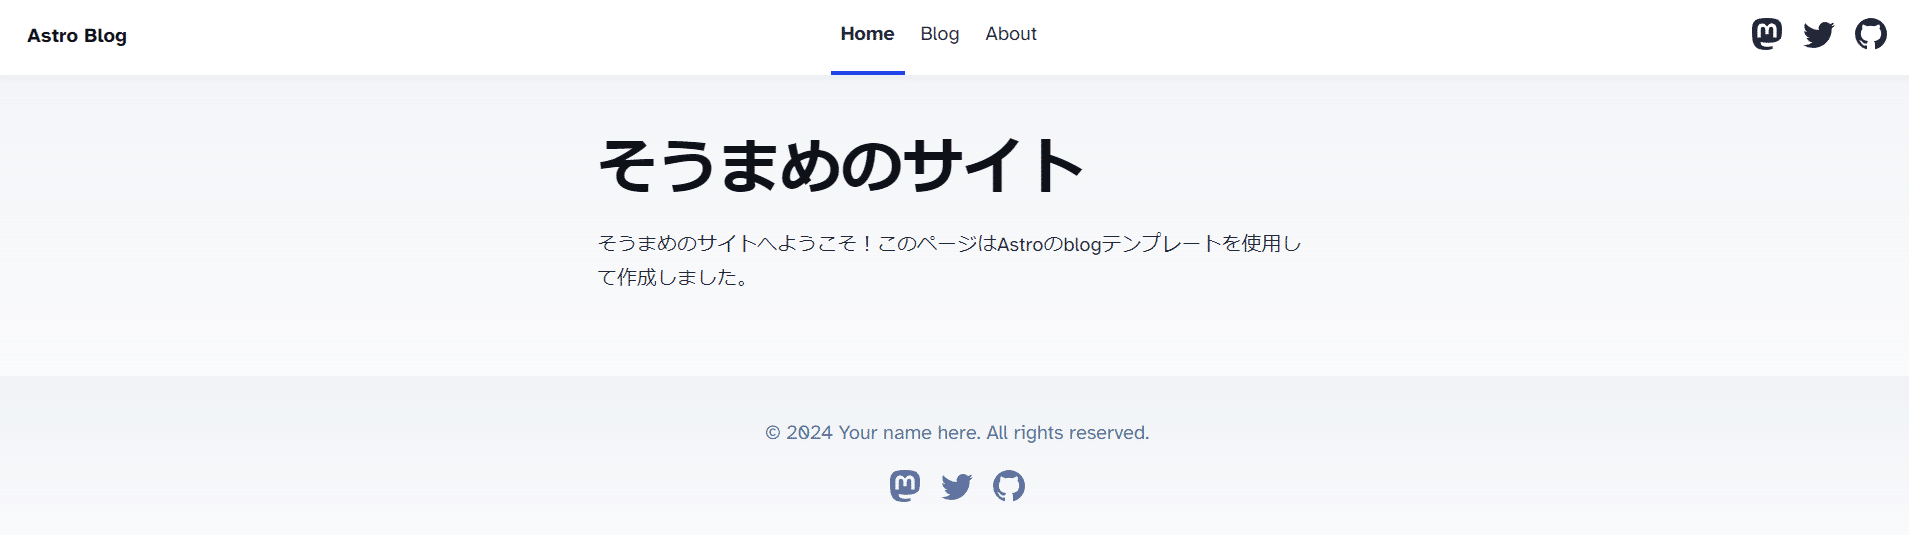
--- import BaseHead from '../components/BaseHead.astro'; import Header from '../components/Header.astro'; import Footer from '../components/Footer.astro'; import { SITE_TITLE, SITE_DESCRIPTION } from '../consts'; --- <!doctype html> <html lang="en"> <head> <BaseHead title={SITE_TITLE} description={SITE_DESCRIPTION} /> </head> <body> <Header /> <main> <h1>🧑🚀 Hello, Astronaut!</h1> <p> Welcome to the official <a href="https://astro.build/">Astro</a> blog starter template. This template serves as a lightweight, minimally-styled starting point for anyone looking to build a personal website, blog, or portfolio with Astro. </p> <p> This template comes with a few integrations already configured in your <code>astro.config.mjs</code> file. You can customize your setup with <a href="https://astro.build/integrations">Astro Integrations</a> to add tools like Tailwind, React, or Vue to your project. </p> <p>Here are a few ideas on how to get started with the template:</p> <ul> <li>Edit this page in <code>src/pages/index.astro</code></li> <li>Edit the site header items in <code>src/components/Header.astro</code></li> <li>Add your name to the footer in <code>src/components/Footer.astro</code></li> <li>Check out the included blog posts in <code>src/content/blog/</code></li> <li>Customize the blog post page layout in <code>src/layouts/BlogPost.astro</code></li> </ul> <p> Have fun! If you get stuck, remember to <a href="https://docs.astro.build/" >read the docs </a> or <a href="https://astro.build/chat">join us on Discord</a> to ask questions. </p> <p> Looking for a blog template with a bit more personality? Check out <a href="https://github.com/Charca/astro-blog-template" >astro-blog-template </a> by <a href="https://twitter.com/Charca">Maxi Ferreira</a>. </p> </main> <Footer /> </body> </html>The file structure looks like this. I rewrote it to be my personal page like this:
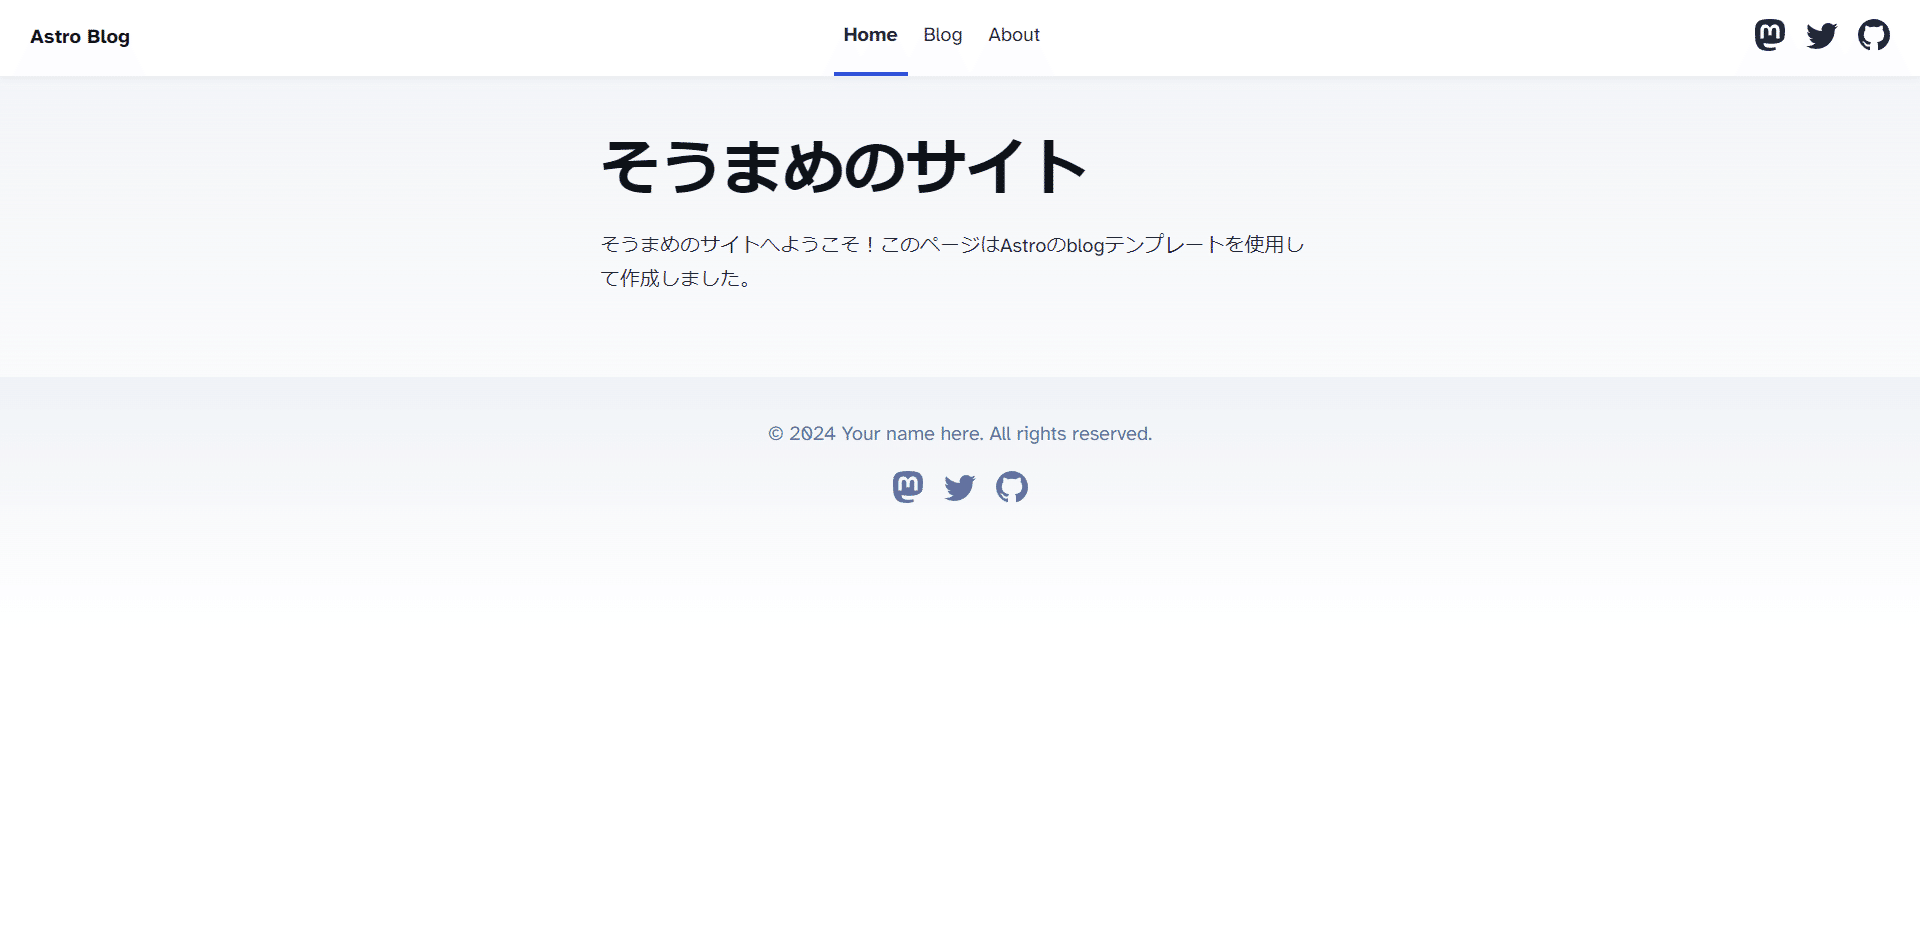
--- import BaseHead from "../components/BaseHead.astro"; import Header from "../components/Header.astro"; import Footer from "../components/Footer.astro"; import { SITE_TITLE, SITE_DESCRIPTION } from "../consts"; --- <!doctype html> <html lang="en"> <head> <BaseHead title={SITE_TITLE} description={SITE_DESCRIPTION} /> </head> <body> <Header /> <main> <h1>そうまめのサイト</h1> <p> そうまめのサイトへようこそ!このページはAstroのblogテンプレートを使用して作成しました。 </p> </main> <Footer /> </body> </html>After saving, the page should update automatically. That’s the basic way to build a site with Astro. Since it’s the same as writing HTML, those familiar with HTML should find it easy.
Next, let’s update the blog list. Navigate to /src/content/blog.
/src/content/blog
Blog posts are stored in files ending with .md. Open one.
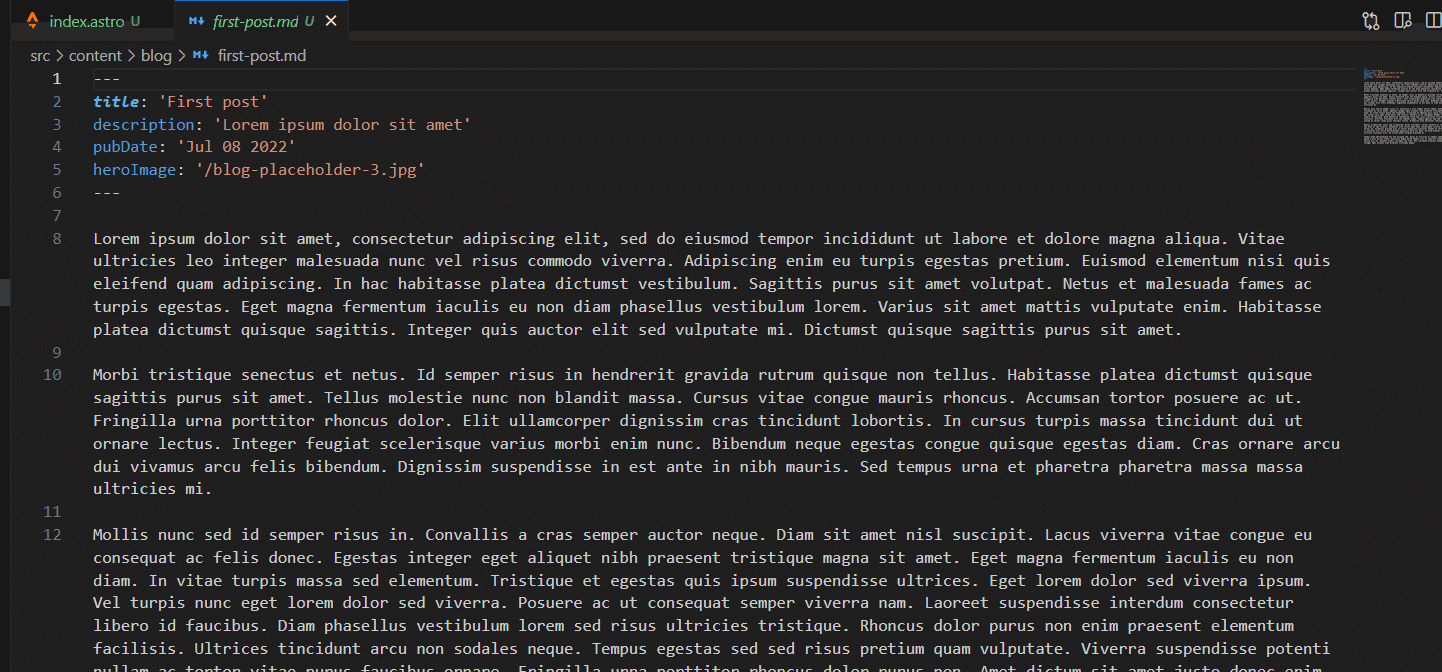
You should see a Markdown file with metadata at the top. Astro calls this frontmatter. Blog posts in /content use this frontmatter to manage their metadata. In this template you can configure title, description, publish date, and images. Let’s change the frontmatter like this:
--- title: '初めてのAstroブログ!' description: 'AstroとVercelを利用して、簡単に無料のサイトを作成!' pubDate: 'May 12 2024' heroImage: '/blog-placeholder-3.jpg' ---For images, use files placed in the public directory, but we’ll skip that for now.
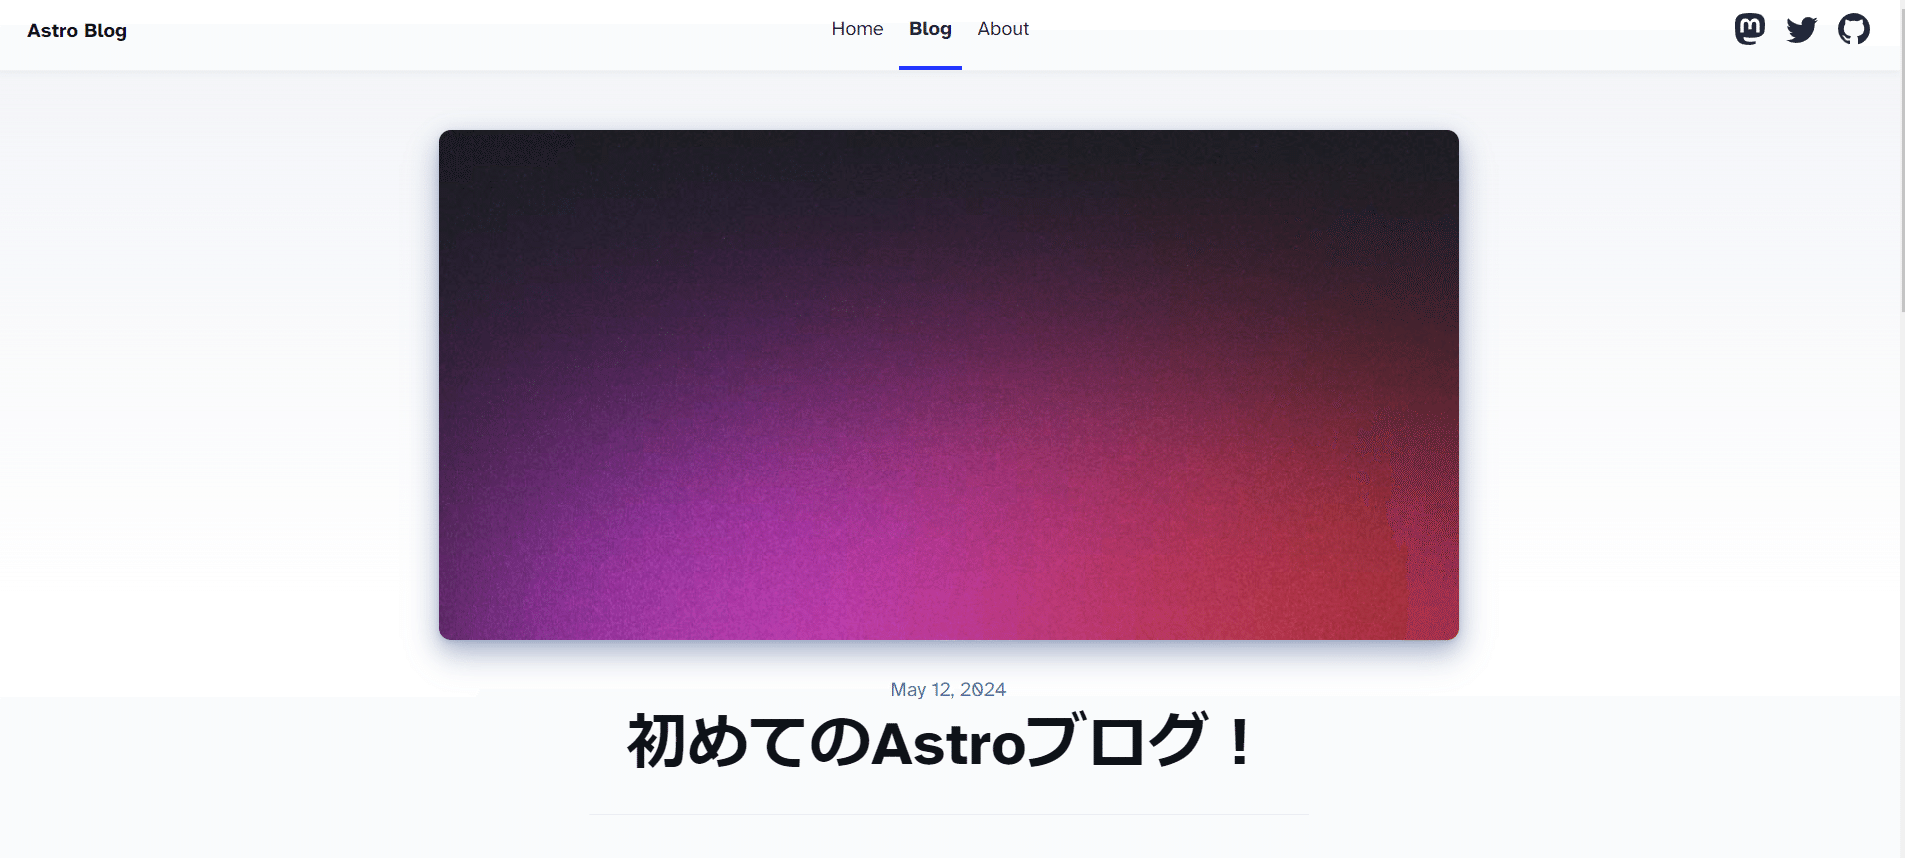
You should now be able to change the content as shown. From here, adjust whatever you need and your site will come together!
Adding Tailwind CSS to customize styles
This project uses regular CSS for styling, but you can add Tailwind CSS for easier, utility-first styling. In Astro these additions are called integrations, and you can add various tools as needed.
Publishing the website
Once your site is ready, let’s publish it. We’ll use Vercel and connect it to GitHub for deployment.
Syncing GitHub with your local repo
First, sync your local changes with GitHub. In VS Code, use the Source Control tab to commit your changes, then sync. When committing, include a message describing the changes. You cannot commit without a message — you’ll be prompted to enter one if you try.
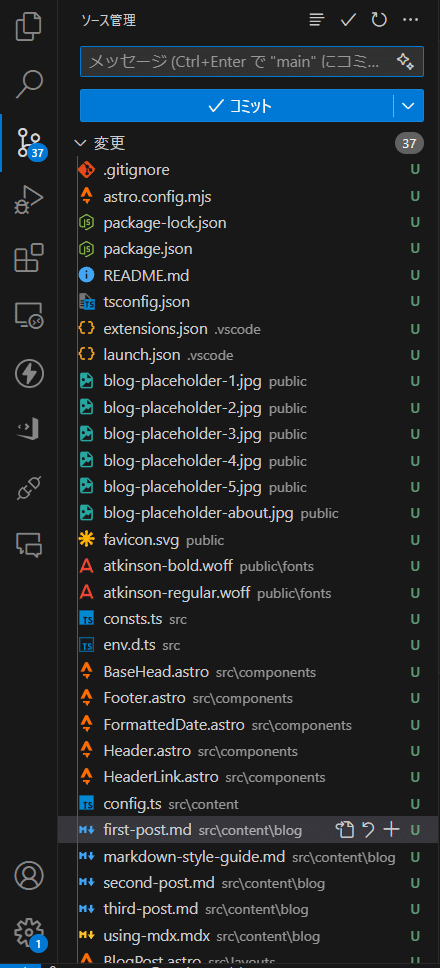
This is the screen before committing. Modified files are listed. For the first commit, all files will be uploaded.
After committing, push the changes to GitHub. Then check GitHub to see the files.
Hosting for free with Vercel
Use Vercel to host the website. Vercel connects to GitHub and makes it easy to publish web apps. Sign up on Vercel and be sure to use your GitHub account to register.
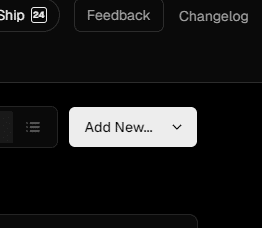
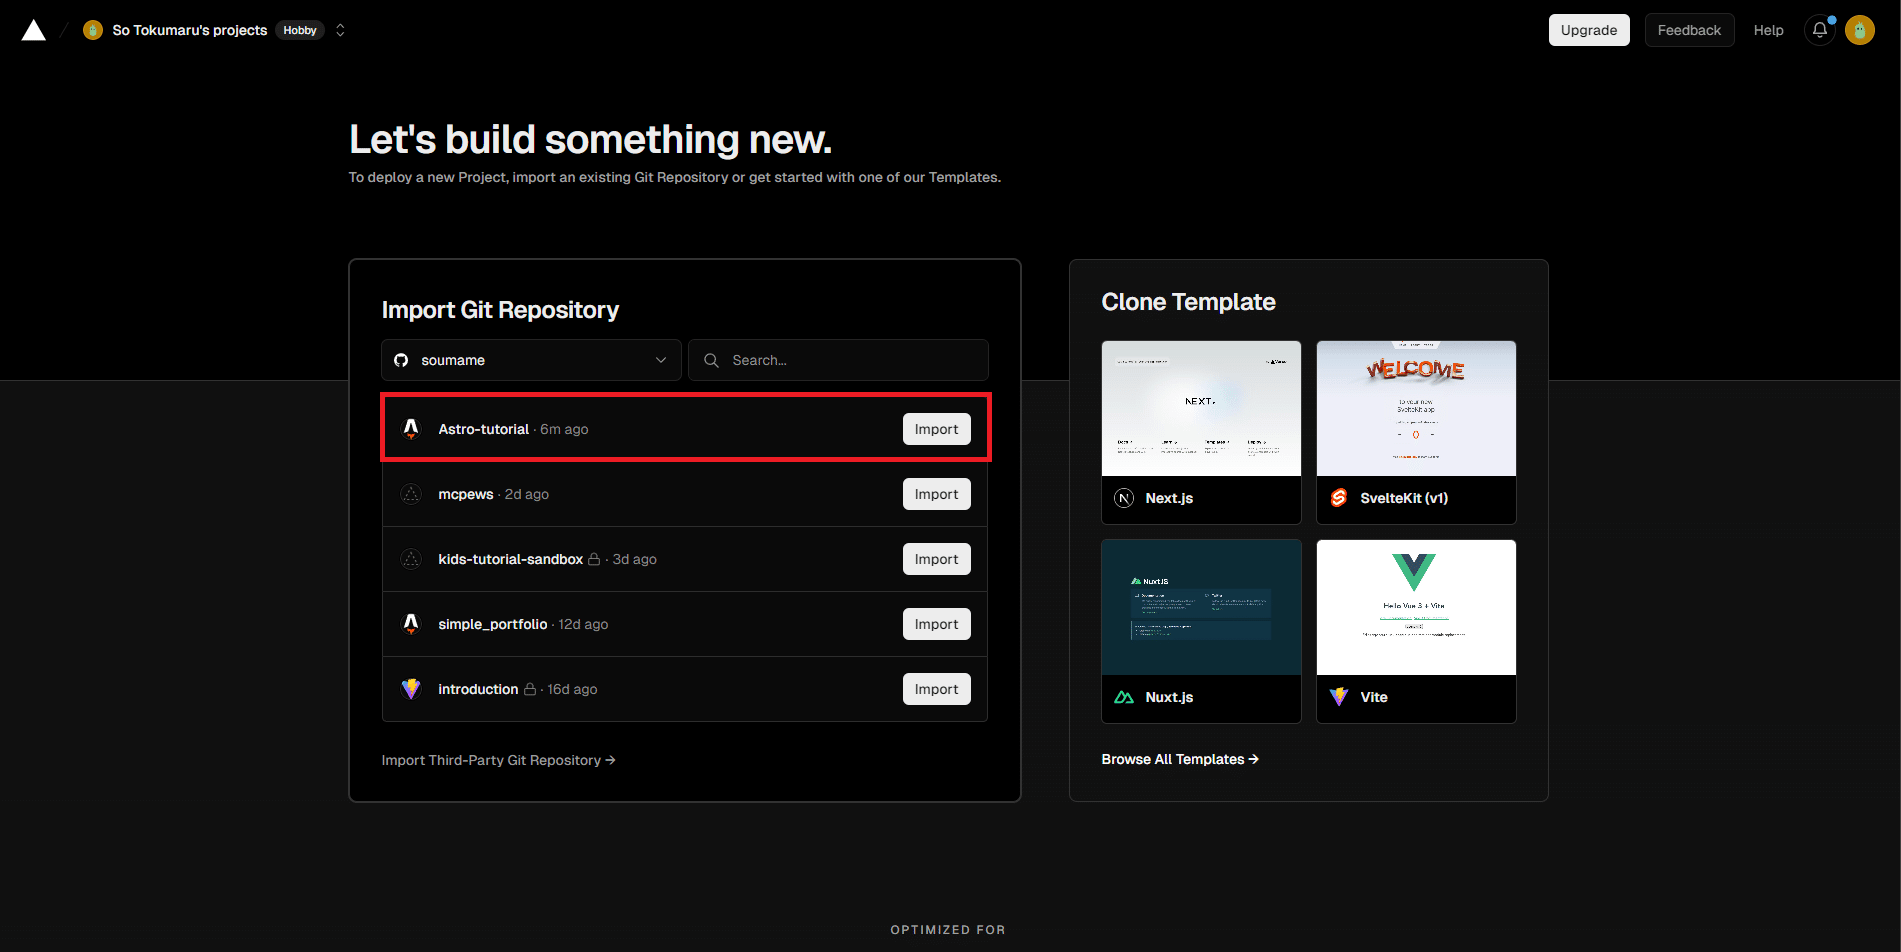
After registering, go to the dashboard and click “Add new…” → “Project”. You’ll see a list of repos from your connected GitHub account — select the Astro repository you created.
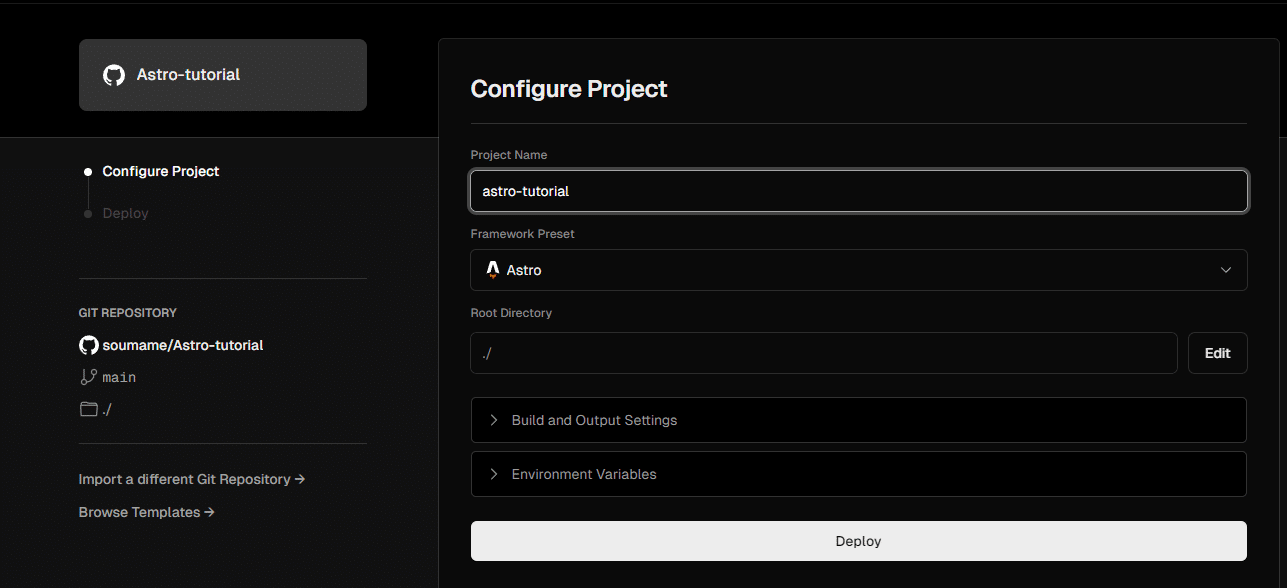
There are no special settings needed — just click “Deploy”. That’s it; your site will be published.
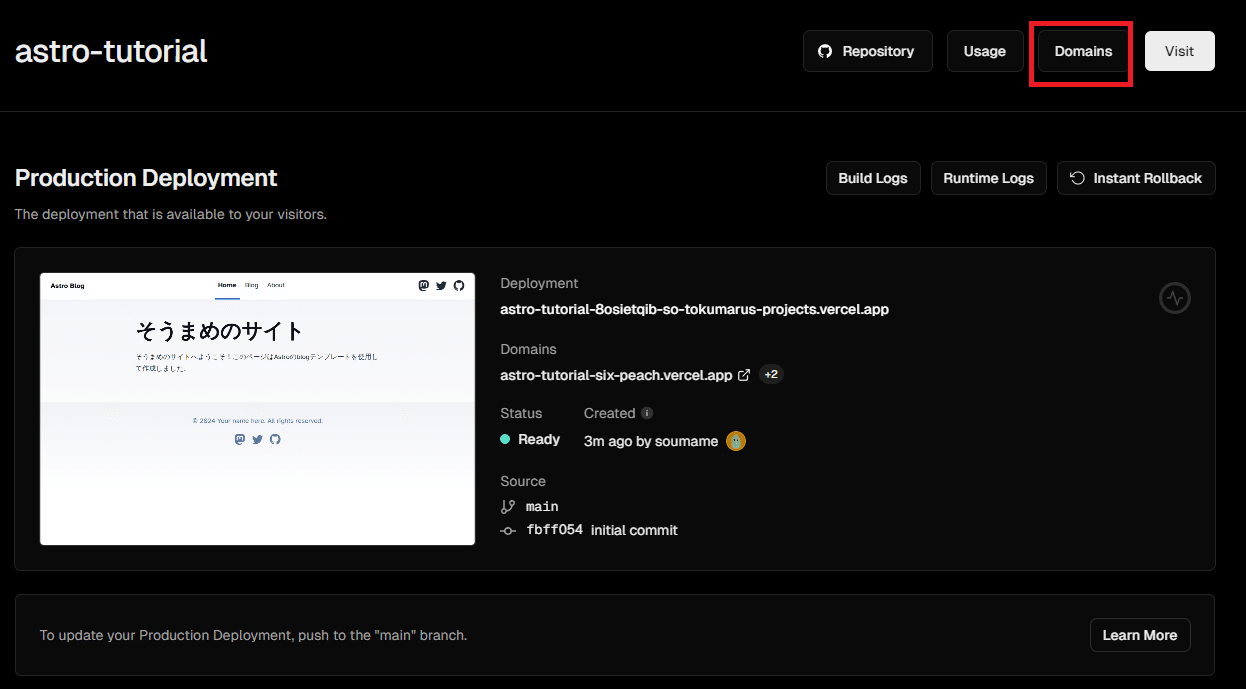
Once deployed, open the published site.
With that, you’ve covered the basics of building and publishing a site. Customize it to your needs!
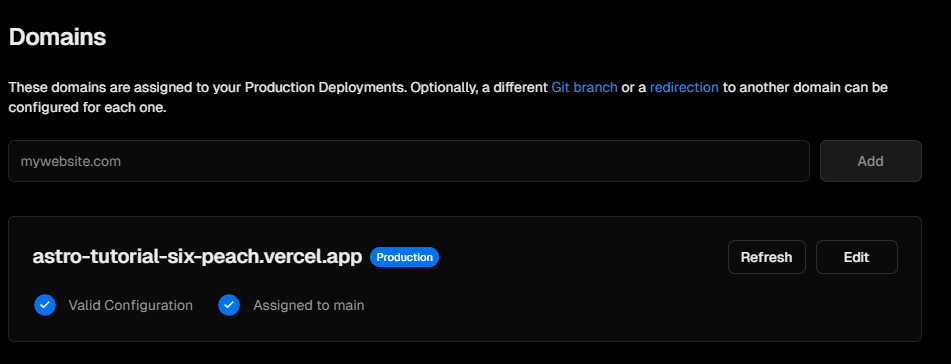
Adding a custom domain on Vercel
If you already own a domain (like example.com), you can add it in Vercel. In the Vercel dashboard, select your project and click “Domains.”
Click the search box and enter your domain. Vercel will present a guide for connecting the domain — follow those steps to add it.
Conclusion
You should now be able to build a website from start to finish. Many other frameworks like Next.js follow similar workflows, so try different tools and find what suits you best. Follow me on social media if you’d like! (By the way, the site below is also made with Astro.)
0 people clapped 0 times
Related articles
💻 Let's Try Team Development on GitHub
Let's Try Team Development on GitHub
For those of you who have registered an account on GitHub but haven't used it because you're not a developer, I've written a brief article explaining how to use it.
🤖 Let's Read Google Sheets via API!
Let's Read Google Sheets via API!
This is a re-publication of an article I wrote on another site last year.
It's super easy. I'll...
🍳 XR's Use May Be Like a HUD — Let's Cook with AI
XR's Use May Be Like a HUD — Let's Cook with AI
I borrowed an inmo XR, an Android-based XR headset, from Ukai (known from Mitou Junior) and did a small hackathon. After struggling to find a use, I built an AI-powered cooking assistant to enjoy cooking with an AI. Here I introduce my attempt to cook with AI using the XR glasses.
🗓️ Thoughts on Life Logging Systems
Thoughts on Life Logging Systems
With the advancement of LLMs, it has become easier to verbalize human behavior and analyze conversations with others. However, I felt that none of it quite fit, so I thought about various aspects from both technical and usability perspectives.